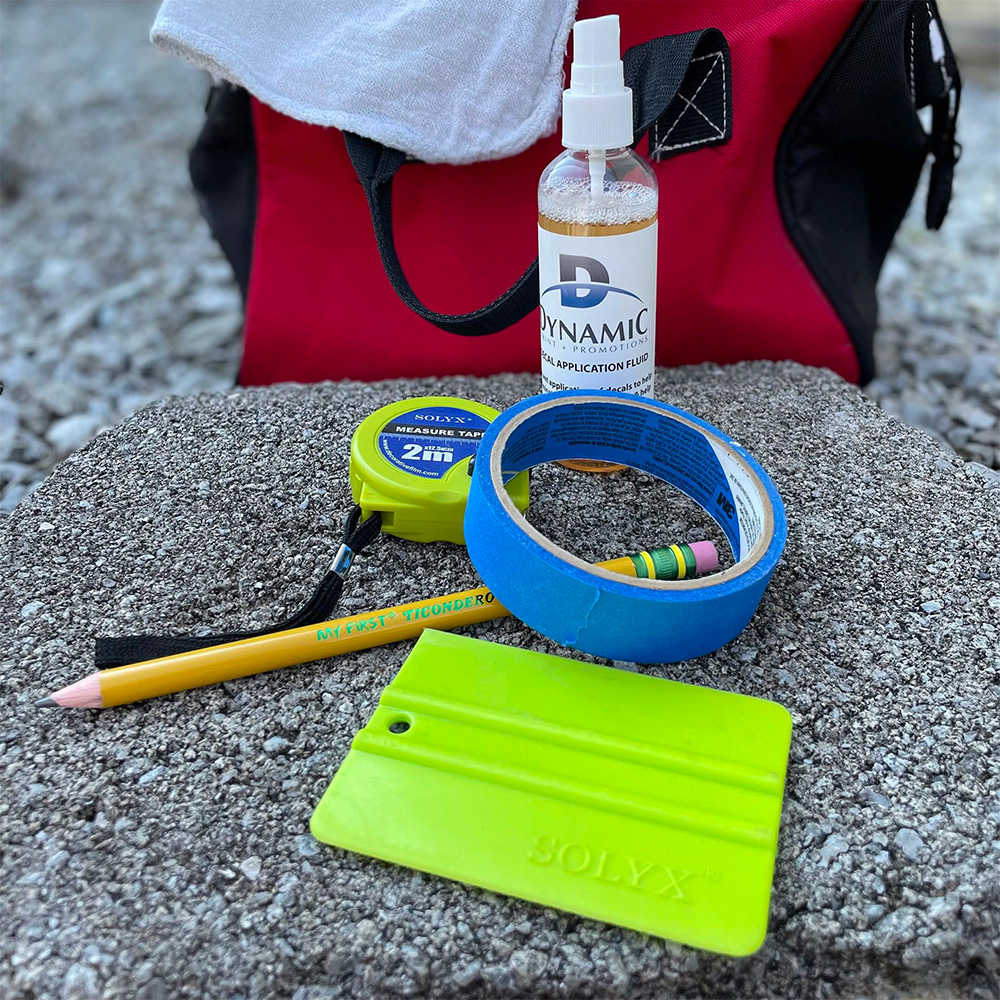
Die Cut Decal Application Instructions
What you will need:
Measuring tape, pencil, painters tape, squeegee, rubbing alcohol, cleaning supplies (Rapid Tac or baby shampoo or alcohol)
Step 1
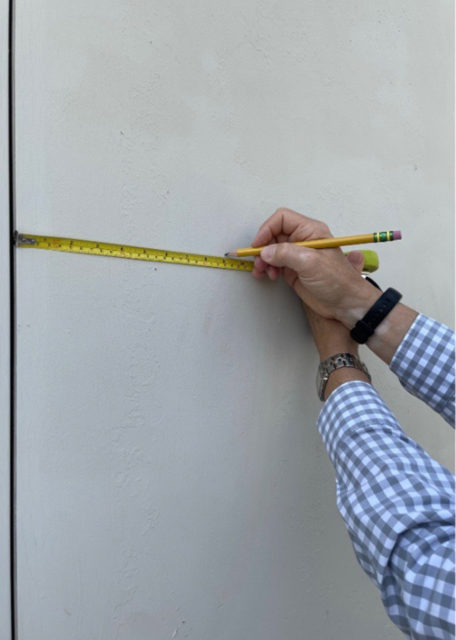
Make sure the temperature is moderate - between 50-80 degrees Fahrenheit.
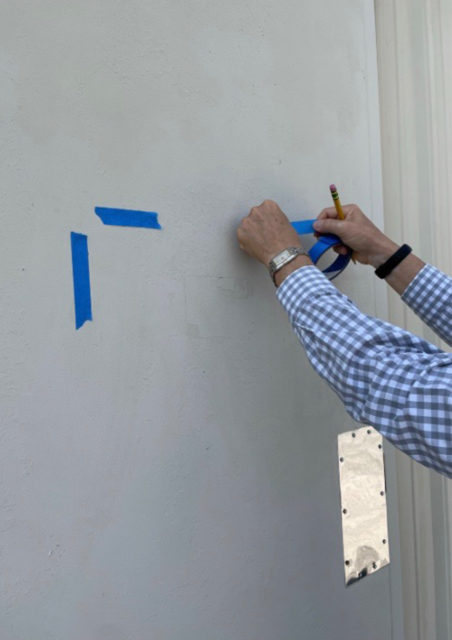
Mark the area with a pencil or use tape for easy and accurate positioning.
Step 2
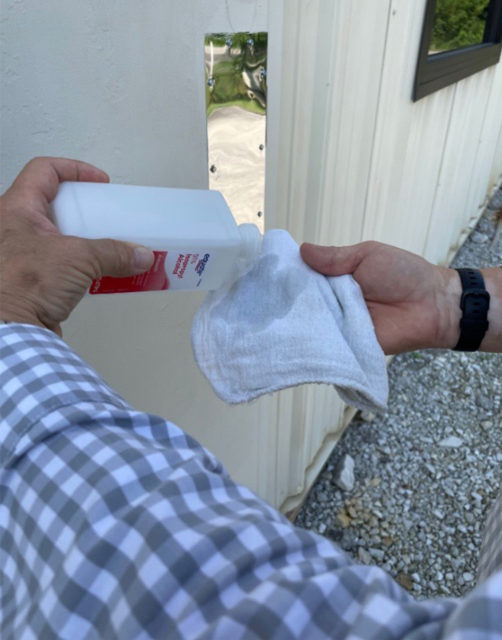
Wash the surface with an ammonia-free cleaner to remove any dirt, grease, oil, wax, or foreign matter.
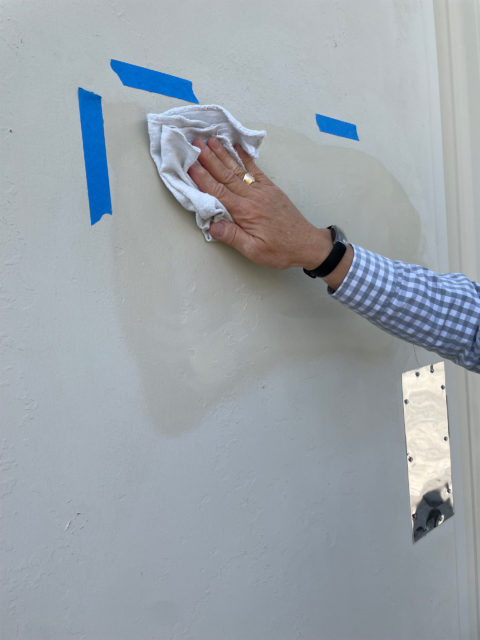
Then spray or wipe the area with rubbing alcohol. DO NOT USE WINDOW CLEANER
Step 3
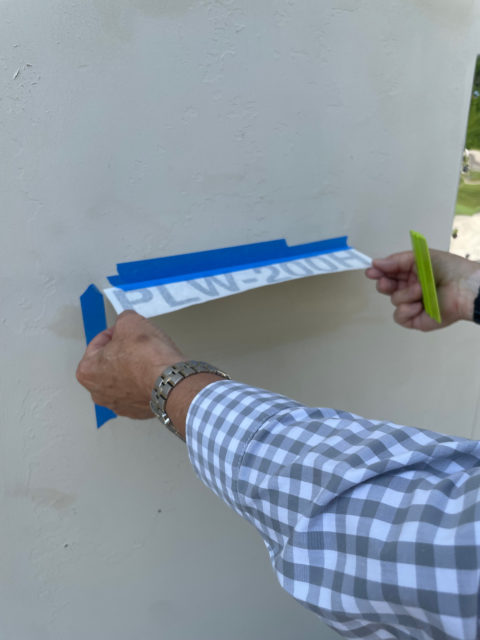
Leaving the pre-mask paper on, place the decal where you would like to apply it. Place a piece of tape along the top edge of the deal, creating a hinge.
Step 4
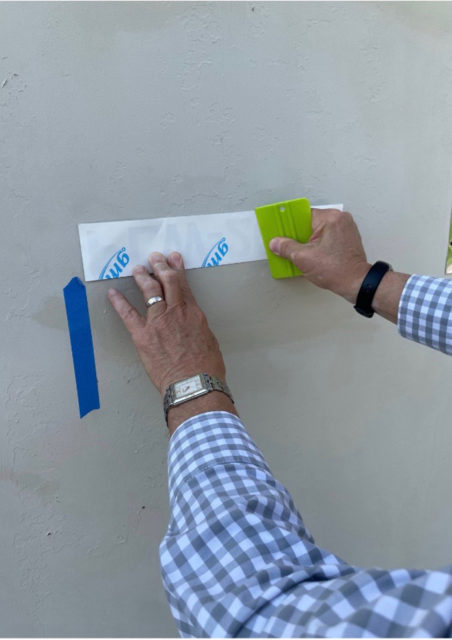
Flip the decal and use a squeegee to gently, but firmly rub across the back of the paper to make sure the die cut letters adhered to the paper.
Step 5
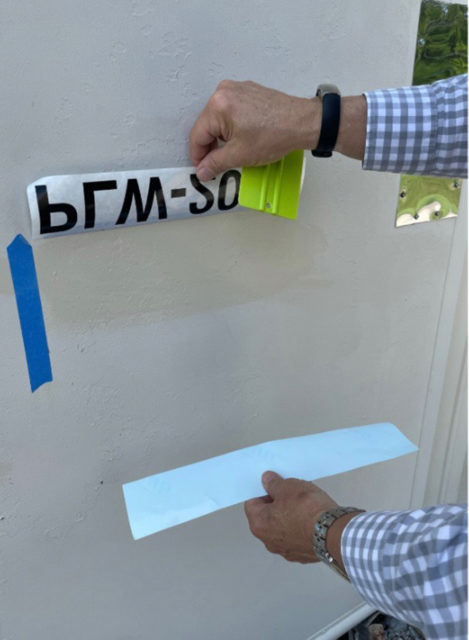
Lift the decal and peel off the backing paper. Be sure the back does not touch the surface.
Step 6
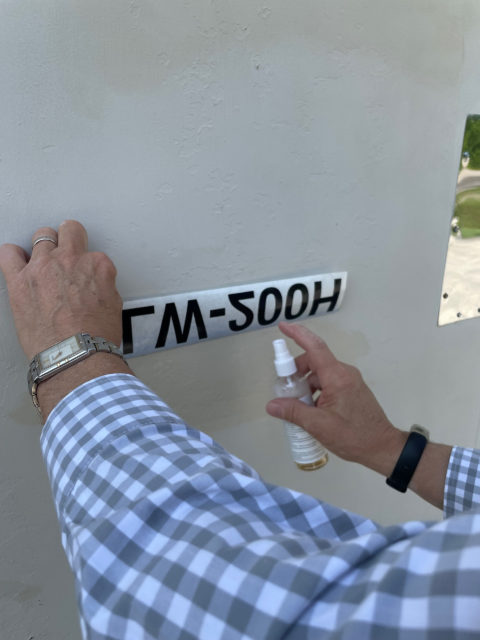
Spray the surface with Rapid Tac Fluid OR use a 32 oz spray bottle, fill with water 1/2 tsp of baby shampoo and 2 tsp of alcohol.
Step 7
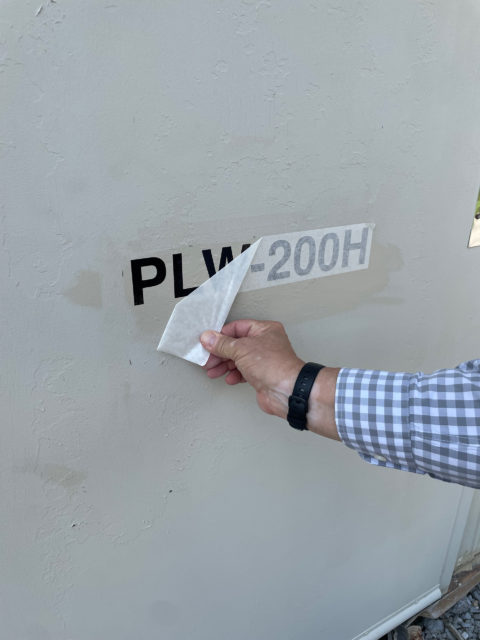
Apply the decal to the surface and use a squeegee to remove the bubbles from behind the letters. Once the decal has bonded to the surface, remove the transfer tape in a downward motion.
Step 8
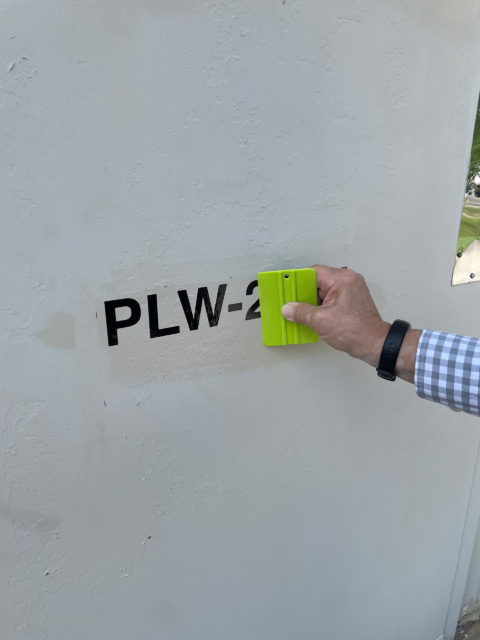
Use the squeegee to remove any bubbles. Allow 24 hours before washing or rough handling.
